Contact : kantasak.singyabut@gmail.com
โหลดโปรแกรม hercules ไปใช้
hercules
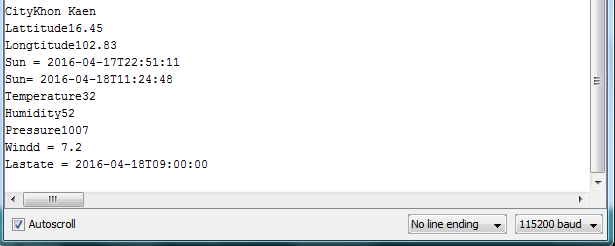
เปิดโปรแกรมมาจะเห็น IP ของเรา

ไปที่ TCP client แล้ว ใส่ IP ของ esp8266 และ port ตามที่ code กำหนด แล้วกด connect

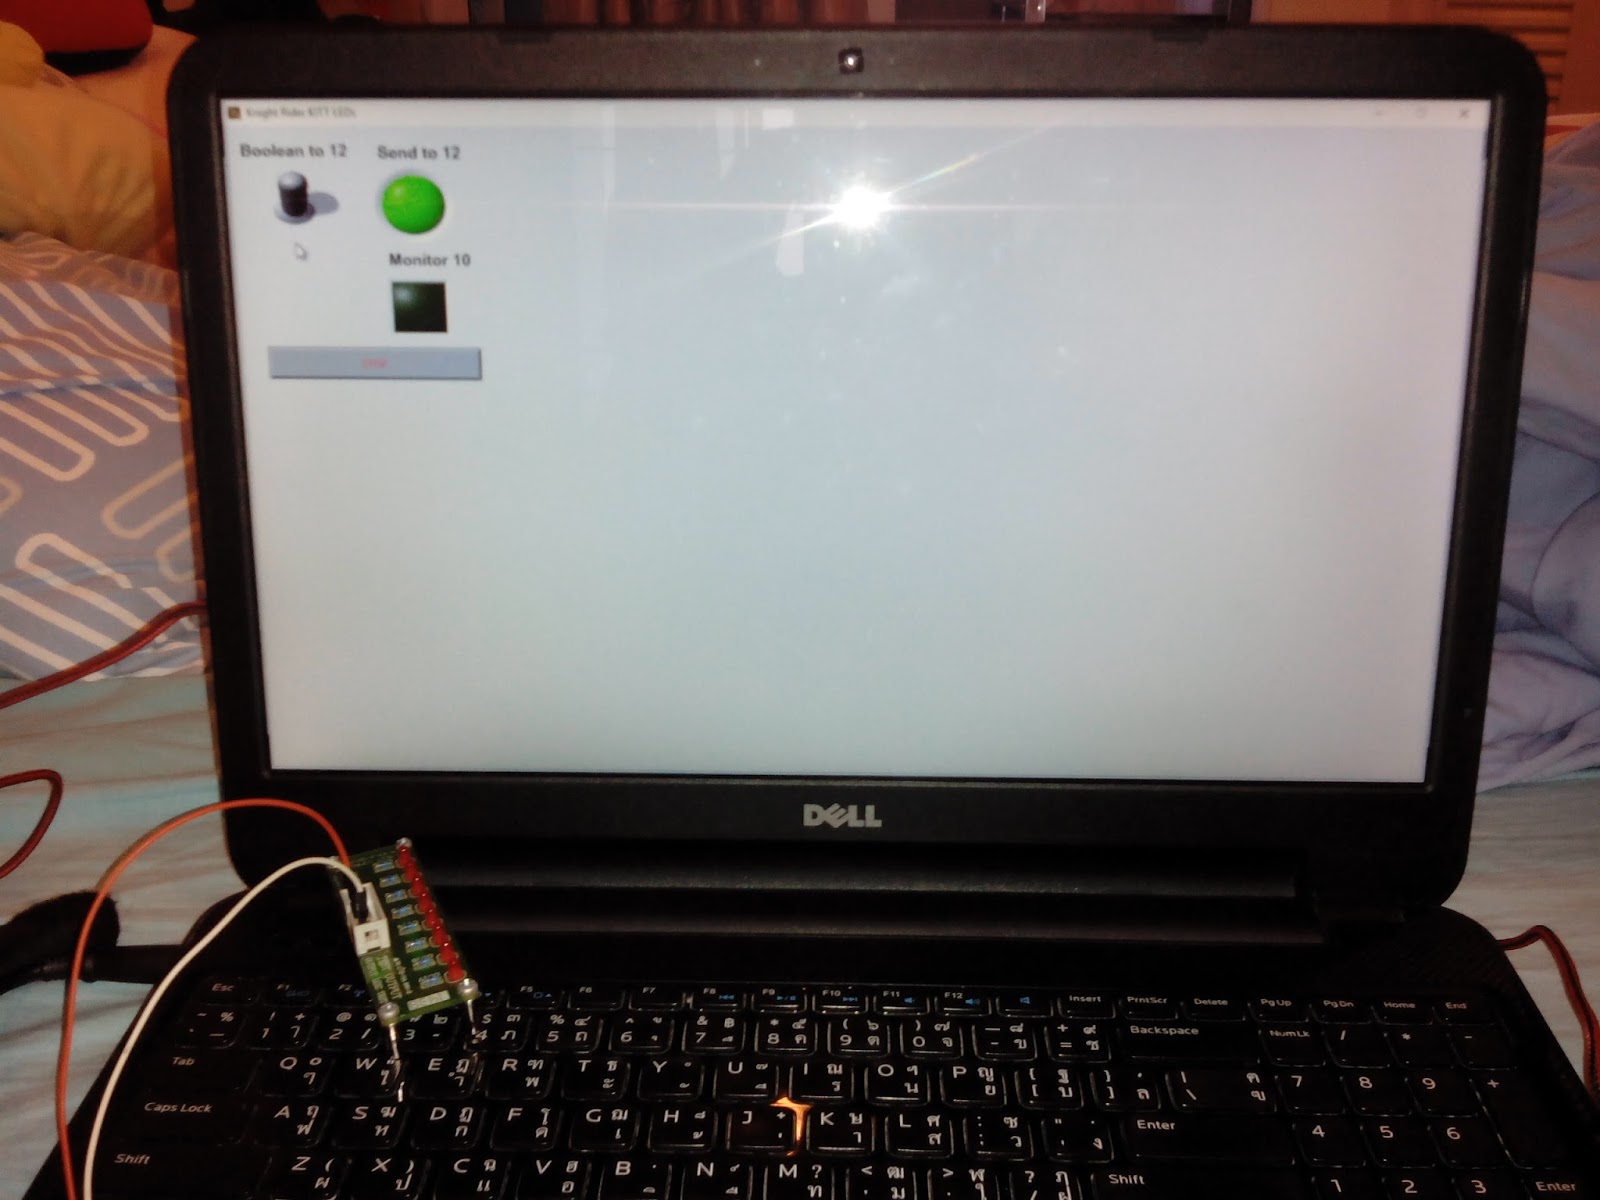
แบบนี้จะเป็นการลอง ส่งข้อความไปหา TCP server ของโปรแกรม
โค้ดนี้จะทำให้ esp8266 เป็น server
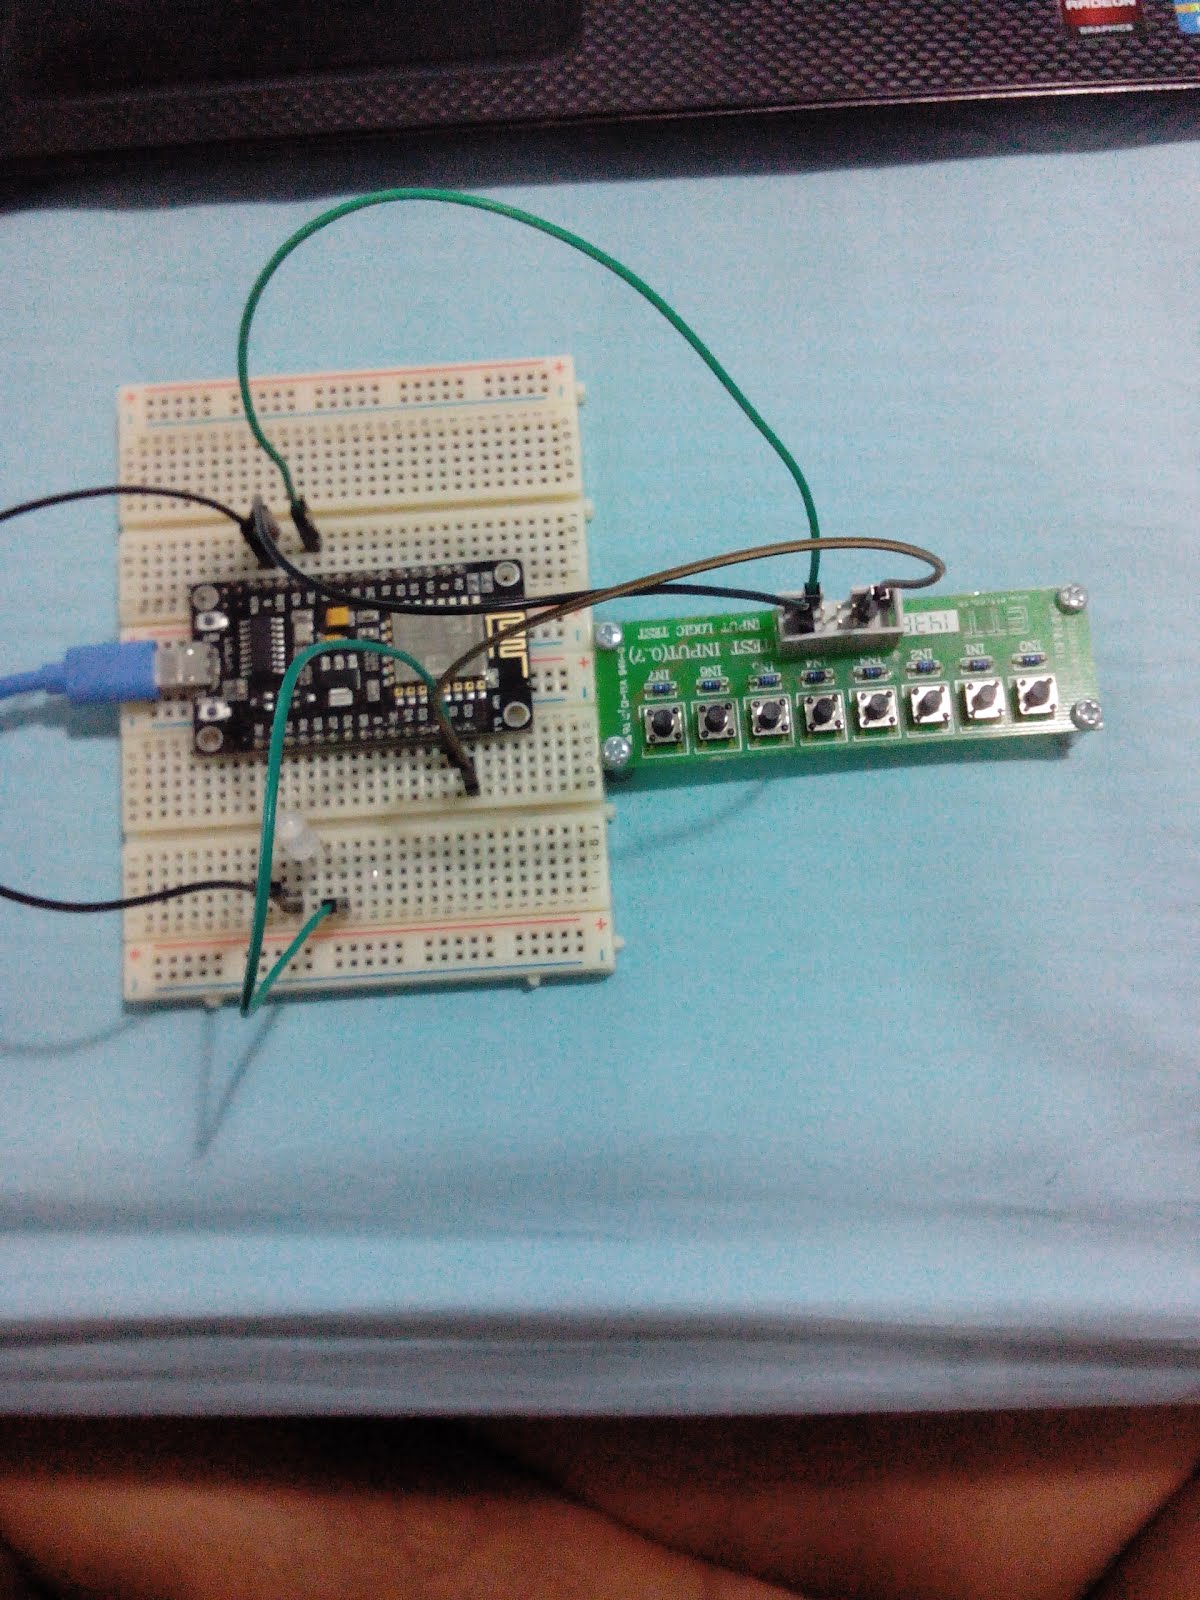
โหลด code ลง esp8266 เมื่อลงแล้ว ให้ กดรูปแว่นขยาย เพื่อดู IP ของ esp8266 แล้วนำไปใส่ใน ช่องIP ของโปรแกรม hercules ที่ TCP client
#include <ESP8266WiFi.h>
#define SERVER_PORT 8000 //กำหนด Port ใช้งาน
const char* ssid = "dokk"; //กำหนด SSID เน็ตตัวเอง
const char* password = "123456789"; //กำหนด Password
WiFiServer server(SERVER_PORT); //สร้าง object server และกำหนด port
void setup()
{ Serial.begin(115200); //เปิดใช้ Serial
Serial.println("");
Serial.println("");
WiFi.begin(ssid, password); //เชื่อมต่อกับ AP
while (WiFi.status() != WL_CONNECTED) //รอการเชื่อมต่อ
{ delay(500);
Serial.print(".");
}
Serial.println("WiFi connected"); //แสดงข้อความเชื่อมต่อสำเร็จ
Serial.println("IP address: ");
Serial.println(WiFi.localIP()); //แสดงหมายเลข IP
server.begin(); //เริ่มต้นทำงาน TCP Server
Serial.println("Server started"); //แสดงข้อความ server เริ่มทำงาน
ESP.wdtDisable(); //ปิด watch dog Timer
}
void loop()
{ WiFiClient client = server.available(); //รอรับ การเชื่อมต่อจาก Client
if (client) //ตรวจเช็คว่ามี Client เชื่อมต่อเข้ามาหรือไม่
{
Serial.println("new client"); //แสดงข้อความว่ามี Client เชื่อมต่อเข้ามา
while (1) //วนรอบตลอด
{ while (client.available()) //ตรวจเช็ตว่ามี Data ส่งมาจาก Client หรือไม่
{ uint8_t data = client.read(); //อ่าน Data จาก Buffer
Serial.write(data); //แสดงผล Data ทาง Serial
}
if (server.hasClient()) //ตรวจเช็คว่ายังมี Client เชื่อมต่ออยู่หรือไม่
{ return; //ถ้าไม่มีให้ออกจาก ลูป ไปเริ่มต้นรอรับ Client ใหม่
}
}
}
}